Sight words. Flash words. Fast words. Word wall words. Popcorn words. High frequency words. Dolch words. Fry words. Whatever you want to call them – they are the words that appear most often in printed materials. Having a solid core of automatically recognized sight words makes a huge difference in fluency and comprehension. It allows readers and writers to navigate text more easily, and spend more energy focusing on constructing meaning, problem solving and writing more complex words.
Marie Clay referred to words that children know instantaneously as “islands of certainty, in a sea of print”. She writes that, “in the familiar story the child locates a word he knows and builds a response around it. Then the child’s reading of text comes to be controlled by particular words even though he can only recognize one or two words” (Clay, 1991). This reminds us of the importance of making sure that everything we do is in the service of meaning. We can’t simply teach kids lists of words to memorize or put these words on flash cards. We have to focus on teaching these words in meaningful text and show our readers how these known words can be “islands of certainty.” We have to help our readers and writers see how to make these words theirs, and how they can use that knowledge in their reading and writing.
Once I’ve determined which words are already known and automatic for each child, I plan the words to introduce for each student and/or group. I typically introduce a new word at the end of a guided reading group, or during interactive writing, but occasionally I do this in a one-on-one reading conference. Regardless, I always make sure it is introduced within the context of meaningful text – either a book we are reading together or a piece of interactive writing.
Selecting a word to teach:
-look at your pre-assessment to determine which word to teach
-choose a high frequency word (four-letter words are easier to learn, don’t start with two-letter words – Marie Clay speaks of this in Literacy Lessons, II. She states that the four-letter words that are frequently used, like: “‘come’, ‘look’, like’, ‘here’, and ‘this’, provide a better introduction to how words work in English than two-letter words like ‘to’, ‘is’, ‘at’, ‘on’, ‘up’, ‘it’ and ‘me’. In some ways, two-letter words are hard, exceptional, and they do not contribute much to dealing with the sequencing or clustering of letters in the language.” (p.41) Also, two-letter words are often visually confusing (on/in, is/si, no/on))
-look for one that occurs in a book the group has read (connect to the known, keep meaning first)
Teaching a new sight word:
Breaking a word into letters:
-teacher quickly assembles a word with magnetic letters on a board on the right hand side of the board
-the teacher demonstrates, with deliberate movements, breaking out the letters – sliding the letters, one at a time, from first to last, to the left on the board – building the word again – then read the word while running finger under the word
-invite a child to try building the word, carefully observing and supporting the left to right movement – then reading the word together
Tracing a word:
-teacher writes word with dry erase marker, then reads the word
-invite child to trace over the letters with her finger, ensure left to right tracing
Connecting to meaningful text:
-look back in the book you’ve read to find the word, search and locate the word on several pages
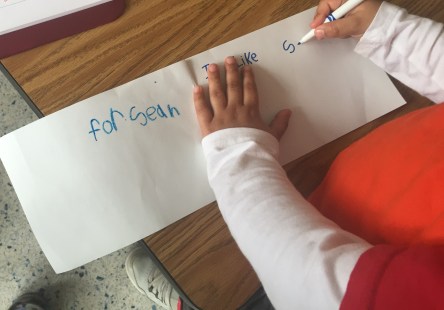
Connect with writing high frequency words:
-explain that we can learn to write words by learning to look at them carefully when we read
-tell the student to look at the word (either written or the magnetic letters) – run your finger under the word and read it slowly
-ask the child to read it slowly and/or run his finger under it – “Look at it carefully.” – ask the child what they notice about the word
-ask the child to take a picture of it in their brain – ask the child to close his eyes and see the word in his head. “Can you see the first part? The next part? The last part?”
-ask him to open his eyes and look again at the written word – “run your finger under it and say it slowly”
-invite the child to write the word without looking – if he is hesitant, tell him he can look where you have it written, if he needs to
-the child should say the word slowly as he writes
-compare the word in the book to the one with magnetic letters and to the one the child has written again, reading the words – talk again about what they notice
-remind the child that this is one of their words now, it’s in their brain and they will be able to read and write it from now on and forever!
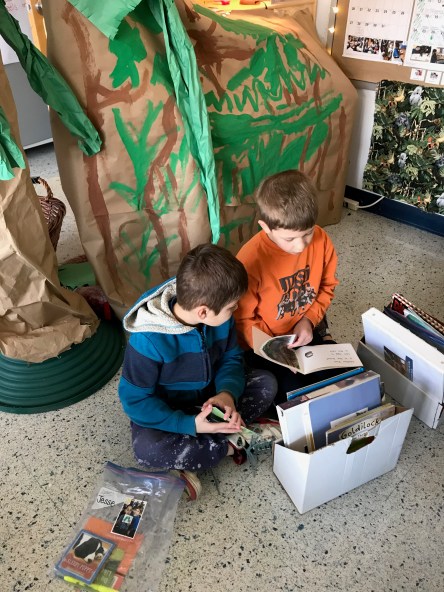
What’s most important is that kids have time to then practice reading these new words in the books they read. They need to see how reading these words fast will allow them to pay attention to other challenges in the books they read and the books they write. They need to have time to read, talk to others, and make meaning from texts that are just right for them. This is when knowing the sight words has the most power – allowing the reader to focus on making meaning, problem solving and constructing a reading processing system.